
In this instructional blog, we will walk you through a proper scan strategy for a full arch. By following these steps, you won’t miss anything important when scanning your arches.
There are three parts to scanning the full arch: the upper arch, lower arch, and bite/occlusion.
UPPER ARCH SCAN STRATEGY
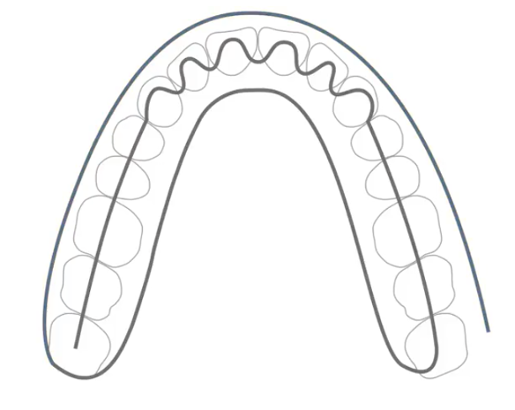
The first step you should take is choose the occlusal surface with the clearest shape to build the main scan data. When scanning the anterior teeth area, the scanner needs to be moved toward the labial and lingual surfaces, centered around the incisal edge. When you scan the opposite posterior area, you must also choose the occlusal surface with the clearest shape to begin scanning.
While scanning the buccal and lingual surfaces, the tip of the scanner should be tilted at a 45-degree angle. It is recommended that the occlusal, buccal, and gingival surfaces are visible at a 1:1:1 ratio when viewing the live scanner feed. This ratio should be maintained when scanning the occlusal, lingual, and buccal surface.
After completing the upper jaw scanning process, check the scanned data. Perform any additional scans to areas that were not completed.
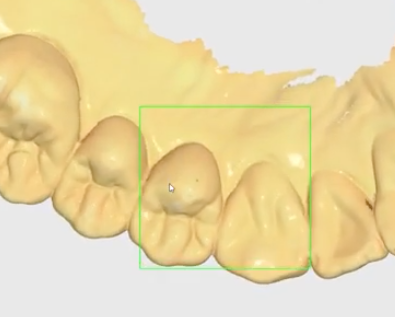
When scanning the proximal surface, face the scanner and tooth axis in the same direction.
Most errors in scanning occur when with the angular areas. Therefore, pay particular attention to the angular areas while scanning.
LOWER ARCH SCAN STRATEGY
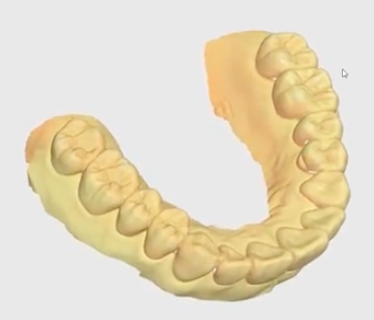
Just as was done with the maxilla, scan the mandible’s occlusal surface first. Then scan the labial and lingual surfaces using a zigzag pattern around the incisal edge.
Maintain a 1:1:1 ratio of the occlusal, lingual, and gingival surfaces on the live feed with the tip tilted at a 45-angle to the surface during the scanning process.
BITE SCAN STRATEGY
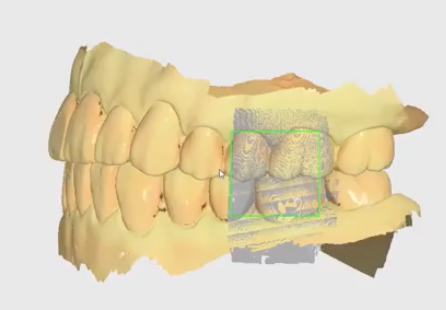
Use the obtained buccal surface scan data for both the maxilla and mandible in order to get the occlusion data.
Place the tip right in between the lower and upper jaws and roll it up and down to scan the data. If the vertical data obtained from the jaws is insufficient (if the gingiva scan is lacking), it will be difficult to align the occlusion. It is recommended to scan enough of the gingival area while scanning the upper and lower arches.
When first learning how to scan, it is great to have a general guideline to help you become proficient. We hope this blog helped!
Additionally you can also watch our tutorial for scanning full arches.