Calibration. What is it and what does it do?
Calibration is defined via WIKI as "The comparison of measurement values delivered by a device under test with those of a calibration standard of known accuracy."
Put into the context of Versamill 5-axis Dental Machining Center's it answers the question: where is the center of my fixture, and ultimately, my material?
Fixture is a machining term that defines how the material being machined is held and is the sum of components required to transmit the motion of the tooling burr into material.
IDENTIFYING GOOD AND BAD MACHINE CALIBRATION

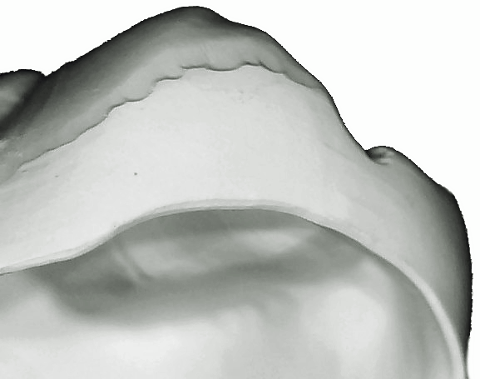
BAD X & Y Axis Calibration
When milling dental restorations a key metric is the height of contour (HoC), also referred to as the "water-line". In the example above, there is a visible offset on the HoC indicating that the fixture's center of rotation would benefit from adjustment.
Notice that the direction of error only identifies on one axis. Diagnostically, when the unit is nested in the CAM software, aligning the cusps to a primary axis allows for easier identification of which axis is in error.
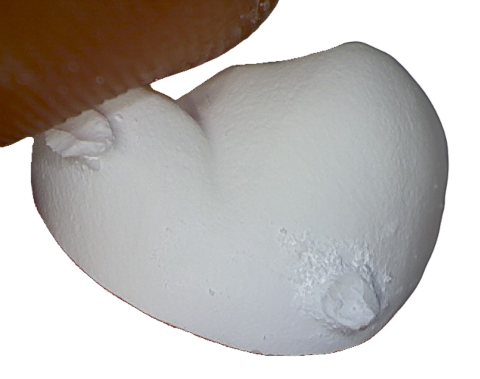
Bad Z-Axis Calibration
Another common symptom can be holes or very thin walls between the bottom of the preparation surface and occlusal. The converse is also possible, heavy material, resulting in occlusal adjustments.

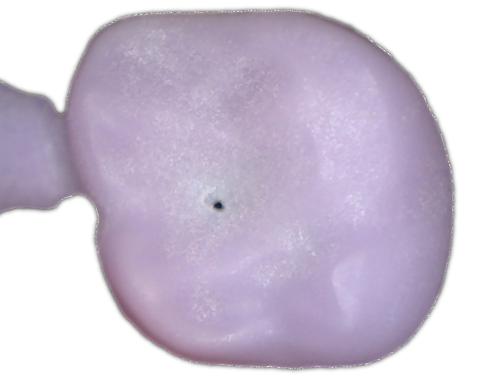
Good Machine Calibration
Notice that on a good calibration the height of contour is nearly indiscernible. While a minor witness line is not uncommon, it should never be pronounced enough that requires effort during post-processing work.
When to Calibrate your Mill
Close inspection of the milled units will always provide the best analysis of when your mill needs a calibration. Officially, it is best to check your maintenance documents for recommendations. However, these recommendations are generally in place for scheduling a calibration review.
Bottom line, if the milled units look good. There is little benefit to performing a calibration.
Misconceptions on Calibration
You may be surprised to learn that margin fit has very little to do with the machine calibration. While there are exceptions, generally the prep fit is not calibration related.
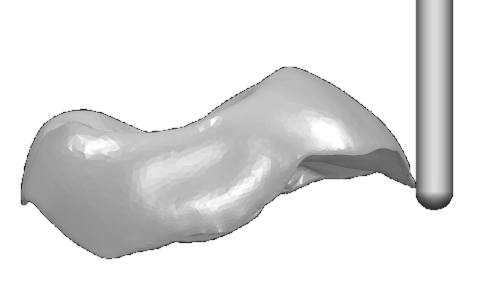
One exception to this rule are templates that employ continuous 5-axis milling within the prep area. This is a result of the relationship between the Z-Axis length and the kinematic calculation of where in space the tip of the tooling burr is located.
A second exception are units with a margin line visible from the occlusal plane— including hybrid abutments.

As you can imagine, any significant offset in the calibration as pictured in the first Bad example will result in massive margin chipping on the unit pictured above, if not a complete "blowout" (depending on the amount of margin reinforcement).
Pro Tip: Understanding your mill's strengths and weaknesses will allow you to optimize results by strategic nesting. In the case above, orienting the unit so that the sensitive margin is towards the best axis will dramatically improve results.
This article provides a brief introduction to machine calibrations and their effect on restoration quality.
Looking for more detail? Be sure to subscribe for Part 2 of: Calibration & Your Versamill 5X DMC for a deep dive on the subject.
